Sunday 14 June 2015

How to Add Text to Your Photographs

As we all know, crediting designers is incredibly important. Without these designers we wouldn't have the vast array of tutorials, magazines and books to delight and inspire us. At the same time, you want to protect your own hard work and the photograph you have taken. There is a simple solution to combine the two and that is to add all the information to your photograph. For those who don't know how, here's a quick tutorial on adding text using PicMonkey which is my favourite online image editor - it's free and it's easy!

Go to www.picmonkey.com and click on Edit at the top of the page to upload the photo from your computer...


On the left hand side of the screen  you’ll see the editing options. Click on Tt...


It sometimes takes a little while for the text editor to start so don’t be alarmed if nothing happens for a few seconds. Click on the Add Text button that appears at the top...


Over on your photograph a text box will appear. Drag and drop the box to roughly where you want your text to appear. You don’t have to be exact as you can move the text around afterwards...


Click once inside the box and type your text.


To change the size of your text, highlight it and then choose the size from the drop-down selection in the pop-up box (or you can use the slider bar to the left of it)...


While you’re adding text, you can’t move the box. So when you've finished editing, click on your photo anywhere outside the box. You’ll notice circles appearing around the box which means that you can now move it...


When you’re happy with how your text looks and it’s placement, it’s time to save it! At the top of the page you’ll see a bar with options. Click on Save...


At this point you can change the file name and quality before clicking on the green bar that says Save To My Computer...


And that's it, you have now added text to your photograph! This is just a very basic tutorial - there are lots of other options like changing the font, colour and different effects etc. Have a play around with it!

Monday 1 June 2015

The June Challenge

Welcome to the June challenge! This month we're inviting you to take a journey through the natural world and get creative with EARTH TONES.


For this challenge we're taking the colours for Earth Tones from the following description, please do not use any other colours.
"Earth tone is a colour scheme that draws from a colour palette of browns, tans, warm greys, and greens. The colours in an earth tone scheme are muted and flat in an emulation of the natural colours found in dirt, moss, trees and rocks. Many earth tones originate from clay earth pigments, such as umber, ochre, and sienna." ~ Wikipedia 
Edited: Blue is not accepted as an earth tone colour.

THE TWIST:
We would like you to include, alongside your beads, something in your entry that is NOT A BEAD. By this we mean something that wouldn't normally be considered a beading item, something you wouldn't find as a supply in a bead or craft shop and that isn't usually meant for beading. It could be a found item, something from nature, an item from the hardware department etc. You can use as many of your chosen item and in any way you like but it must be a visible part of your piece. Remember, the twist is optional, you don't need to include it for your entry to be accepted but if you do you will receive two entries into the draw. And please let us know what you have used if it's not immediately obvious!

THE PRIZE:
Our sponsor this month is Rachel and she's offering £15 to spend in her online shop RB Beads!

HOW TO ENTER:
Simply email a photograph of your entry to Liz at ottbs@live.com. The challenge runs until Midnight on Tuesday the 30th of June and the winner is drawn and announced the following day. The challenge is open to beaders worldwide.

RULES & OTHER INFORMATION:
Entries must have been started on or after June 1st 2015.
You can make any item, it does not need to be jewellery.
You can use any craft technique but it must include beads.
Findings are exempt from the colour challenge.
Your entry must be a finished piece.
If your entry isn't your own design you must credit the original designer.
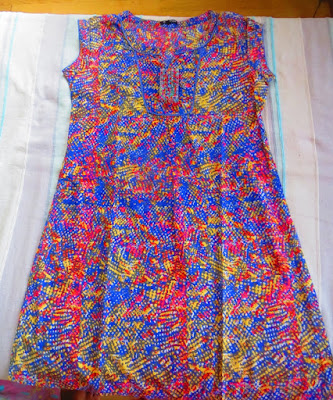
The photo above is for illustrative purposes only, please refer to the text below it for details on the colours allowed in this challenge.

There is more detailed information on the challenge here but if you have any questions please leave a comment below or email us. 

Good luck everyone and happy beading!

The May Challenge Reveal

Thanks to everyone who joined in with our Inspired by Fabric themed challenge, we've had so many gorgeous entries! Well done to all of you!


Here are the beautiful creations that were made...


Everyone's names were put into the list randomizer at Random.org and the lucky beader whose name is at the top of the list is...


CAROL PASSARO


Congratulations Carol, you're the winner of the £15 voucher to spend at Jencel!

We hope you all enjoyed May's challenge, please pop back later on today when we'll have a brand new challenge for June :)