We've had an amazing response to May's green moodboard with a record 17 pieces submitted! Thank you so much to everyone who has joined in with us this month and also to all our readers and followers - we couldn't do it without you. Before I show you a round up of all the beautiful beadwork let's have a recap of the mosaic I posted at the beginning of the month... Top row: green, Ghost Song, my lips are sealed
Middle row: Lime green wall, Pannonian sea, Green on Green
Bottom row: Crests Of Waves, Green Eyes, Green door against green grass
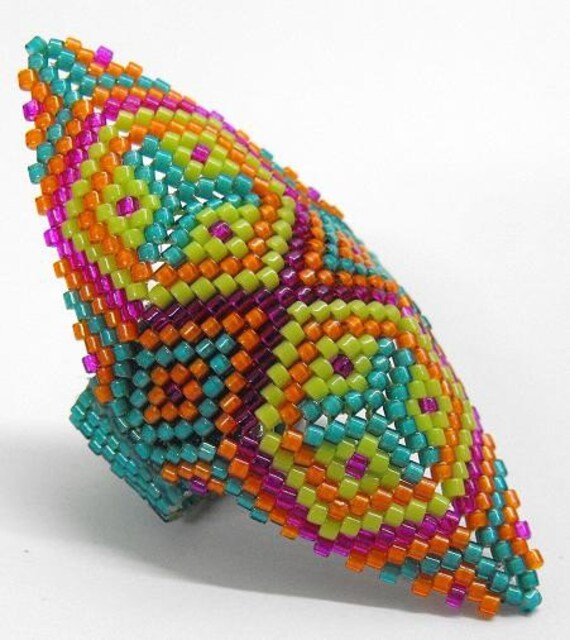
Debbie

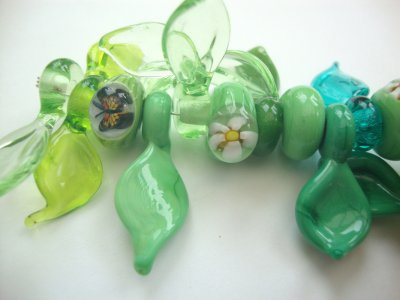

Dee


Mandy

Carol

Liz (me)

Eleanor

Gemma

Elisabeth (adapted from a design by Kerrie Slade)

Didy

Kitty Ballistic


Catherine


Sarah

June

Again I'm using Random.org to randomly choose a name from the list and the beader who is in 1st position is...

Congratulations Didy!!! I'll be in touch shortly about your prize.
Well I hope you've all enjoyed this months challenge, don't forget to drop by again tomorrow when I'll be posting the brand new moodboard for June!