Showing posts with label tutorial. Show all posts

Tuesday, 8 July 2014

Basic Stitch Tutorial - Brick Stitch

It's been some time since we had a Basic Stitch post so here we are with a brick stitch tutorial! In brick stitch, each bead is offset from the beads below, rather like a brick in a wall (hence the name). You can use any size bead for this stitch but you'll want to use beads that are fairly regular in size, to keep a straight line, and any of the Japanese seed beads are great for this. I'm using Toho size 11 seed beads here.

Start off with a ladder stitch base. If you're not familiar with ladder stitch we have a tutorial for you hereIf you'd prefer a thicker base to hold onto you can always make a two bead stack. I've made a one bead stack here. The length can be any number of beads but you'll want your thread to be coming out of the top of the last bead.

Pick up 2 seed beads and pass the needle under the thread that connects the two end beads on the ladder stitch base...


...and sew up through the last bead added. Pull the thread taut so that the two beads sit neatly side by side.


Now pick up 1 seed bead and pass the needle underneath the next thread. These connecting threads are also known as 'bridges' so that's what I'll refer to them from here on.


Sew up through the bead you just added...


Repeat the above step, adding 1 bead at a time, until you reach the end of the base and have no more bridges left.

To make this end of the brick stitch identical to the other you will have to add one more bead so pick up 1 bead and pass the needle under the same bridge that you just used and sew back up through the bead as before.


And that is your basic brick stitch!

Now there is the subject of increasing and decreasing with this stitch which you'll need to learn in order to complete a pattern. Depending on the pattern you have two choices on how to start and end your rows. 

If you start as I did at the beginning, by adding 2 beads onto the first bridge this will increase the edge by 1 bead...


If you keep doing this you'll have a diagonal shaped edge which you can see starting in the photo below...


But what if you don't need a diagonal edge? Easy! You pick up your 2 beads as usual but skip the first thread bridge and pass the needle under the second....


...and back up through the second bead...


But ugh, now my beads are wonky! Never mind, there's a trick for this. Sew down through the first bead...


...then up through the second bead...


And ooh look, nice neat beads! I do like it when my beads line up lol, but I guess you could skip this bit if you're not bothered ;)


Now when you get to the end of this row you can either stop at the last thread bridge to decrease the edge or add another bead to it if you need to increase the edge. 

Tips: You can use two or more beads to give your beadwork extra height, remember to pick up double at the start of your row. So if you use two beads per stitch then pick up four to start.

Notice how brick stitch looks exactly like peyote stitch when you rotate it? This means that you can use any peyote pattern for brick stitch (and vice versa), you just need to turn the pattern on it's side!

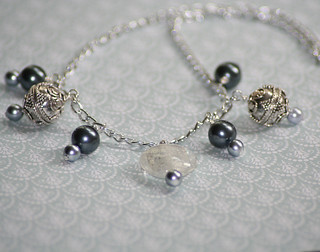
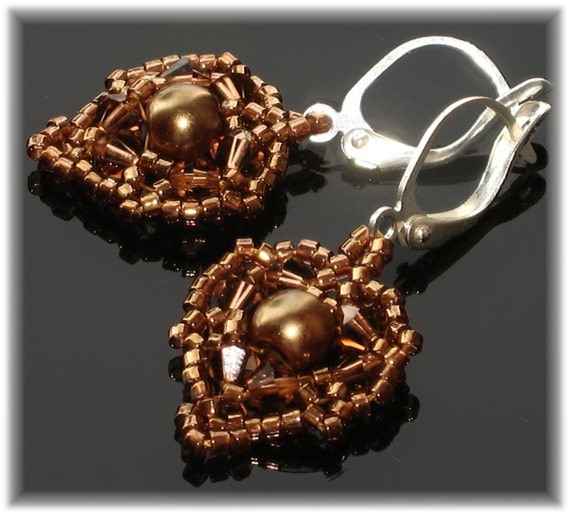
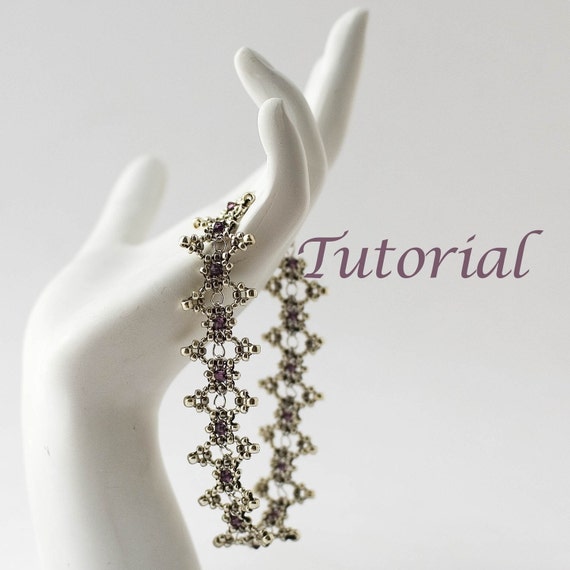
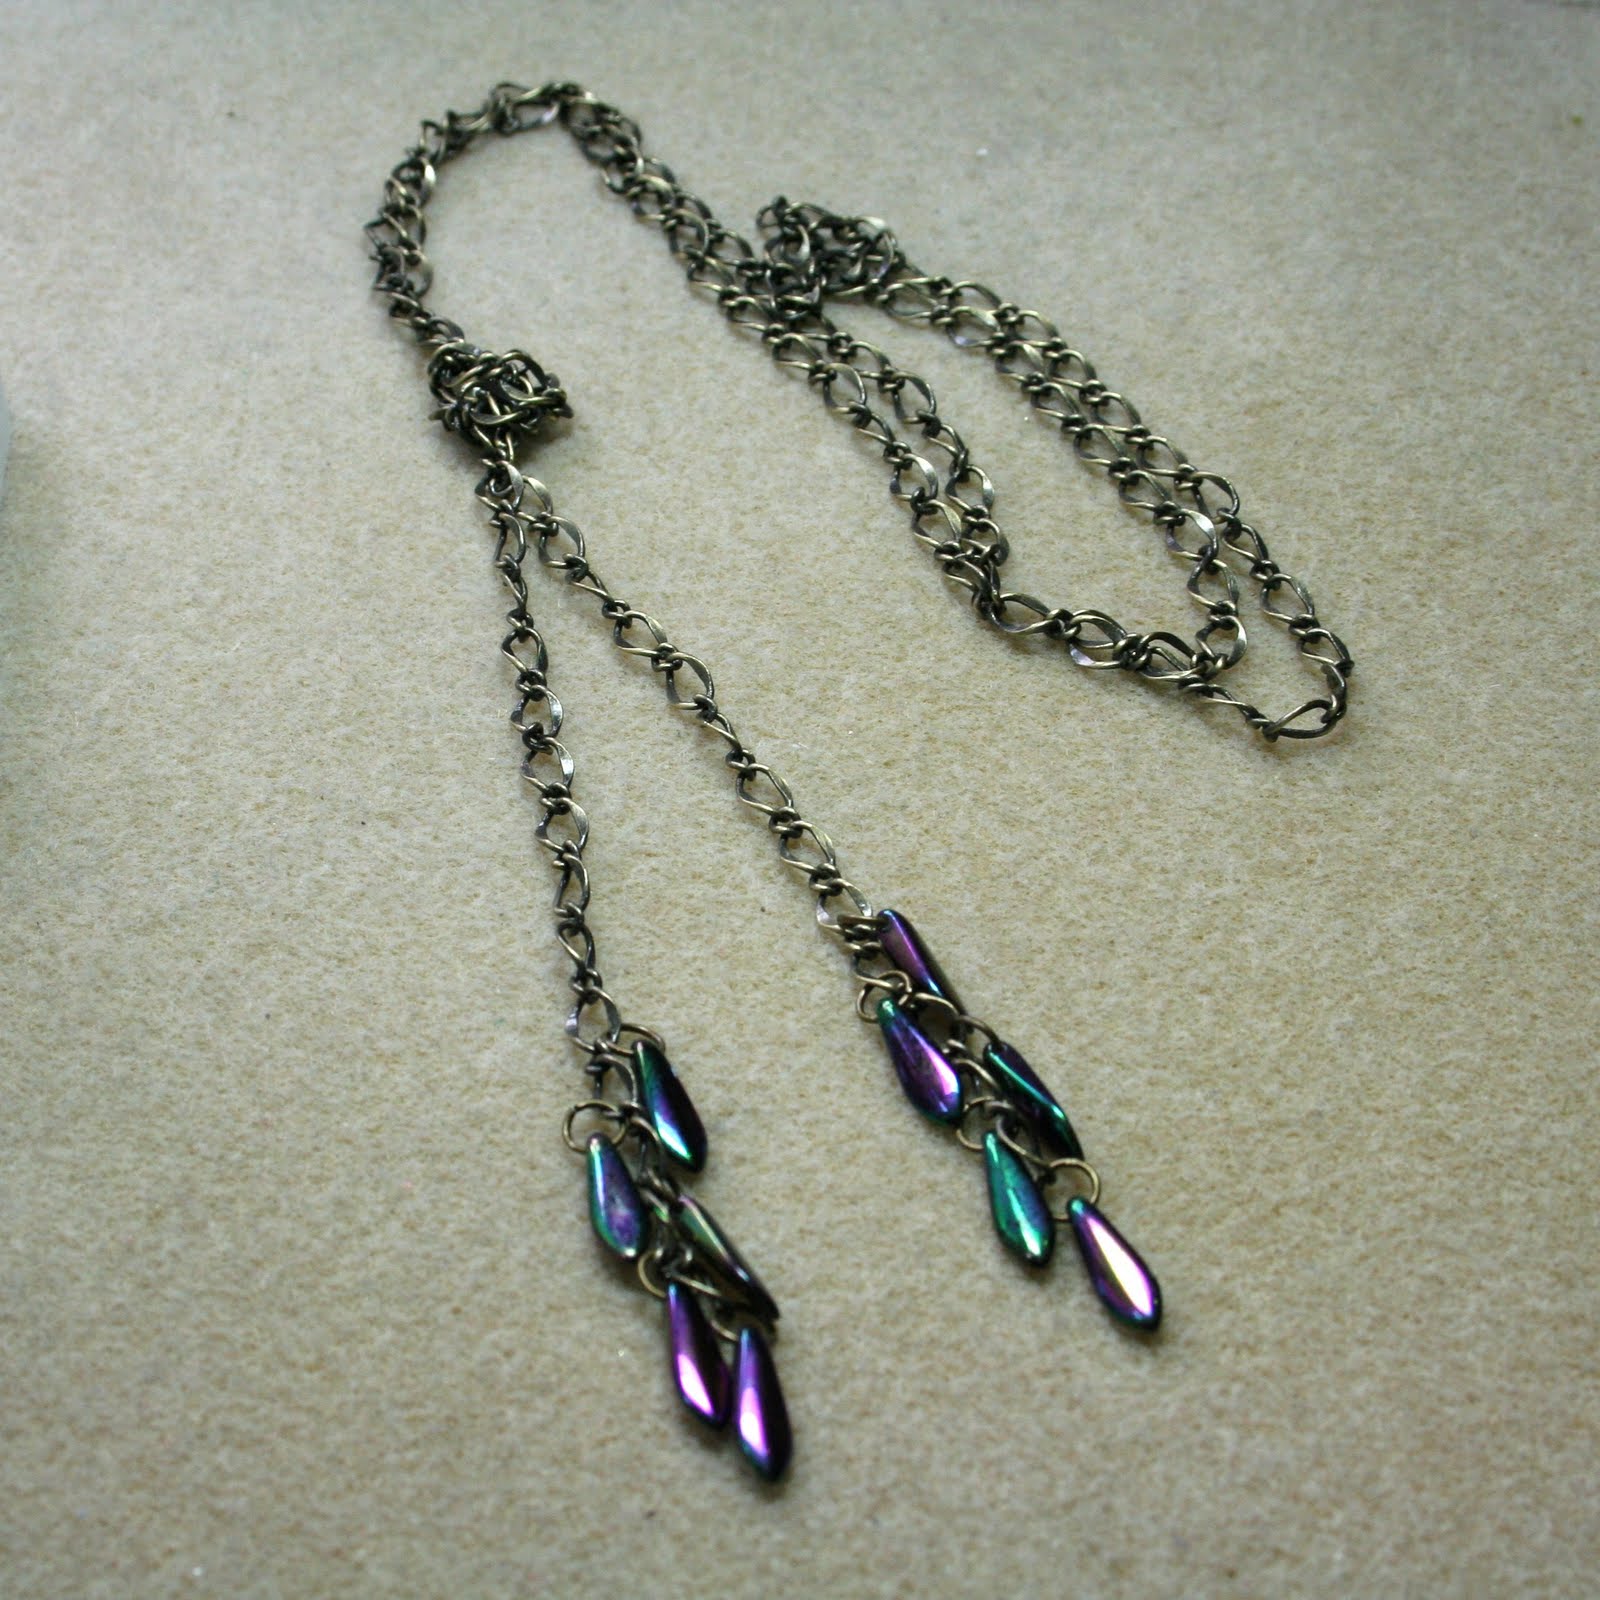
Here are some examples of finished brick stitch projects, all made by our very own Carol Passaro.


Carol's own design


Adapted from a pattern by Rita Sova


 Holly pattern by Threadabead


 Poppy by Kerrie Slade

Wednesday, 31 July 2013

And The Winner Is.... {The July Giveaway}

Hello! Earlier in the month, I happily announced that my new etsy store - Obstinate Pursuit - was sponsoring the July Giveaway with a copy of my first tutorial 'The Star Flower Bracelet' and everything that you would need to make your own version of the bracelet.


I was overwhelmed by all of the support and would like to thank everyone for their lovely comments about the tutorial and the store! However, there can only be one winner.....


..... and that winner, as chosen by Random.Org, is Janice F! Congratulations Janice! I'll be in touch soon! 

Tuesday, 16 July 2013

The July Giveaway Has Arrived!

Wow. I have finally taken the plunge and opened my own little etsy store, Obstinate Pursuit. It's been a long, long time coming! In celebration, I'm sponsoring this month's giveaway - and giving you a little preview of a bracelet tutorial that will be available for sale in the shop this weekend.*


Leave a comment on this post before 12 Noon (GMT) on the 30th July and I'll choose one winner at random to receive a copy of the tutorial and all of the materials that you need to make a bracelet - including Miyuki Seed Beads and Swarovski Pearls. I'll announce the winner on the 31st July.

* And, just in case you're wondering. It's not available at the moment, because I still haven't chosen a name. So, if you'd like an extra chance to win the tutorial, please visit me at Obstinate Pursuit and leave me a name suggestion! If I choose your suggestion, I'll send you a copy of the tutorial too!

Clair x

Sunday, 17 June 2012

Kisaviragas Karkoto - Tutorial Review

Just popping in today with a review of another tutorial that's perfect for using up some of your leftovers - Kisaviragas Karkoto by Panita. That's right, it's in another language - but please don't let that put you off! The diagram truly is exceptionally easy to follow if you have a little bit of beading experience and, of course, I'll be over in the Facebook Group and ready to assist anyone who needs a little bit of help!

The pattern calls for seed beads in Size 11 and Size 6, though I have successfully used Size 11 and Size 8 in my own version of the bracelet. To stitch up the full bracelet, with three rows, you'll need approximately three grams of each bead size. So, have a little rummage for all of those 'nearly empty' tubes of seed beads! 


If you're not sure whether you have quite enough beads for the full bracelet, I've found that a one row version looks just as cute and, of course, if you want to play around with the basic pattern to make some earrings, you'll need a much smaller amount!

You can vary the pattern a little by working with other sizes of beads, as long as you pair together two different sizes. Size 15 and Size 11, still work perfectly well, but you'll need a smaller needle and possibly a thinner thread. 

Can't wait to see the variations that you all come up with x

Friday, 8 June 2012

Make The Most Of Your Leftover Beads

In my other life as a paper crafter, I'm dedicated to using up all of my creative leftovers - using the teeniest, tiniest scraps of paper so that there isn't any waste. But, in my life as a beader, I have to admit that I'm not so fantastic at using up the beads that are left at the end of a project! 

So, in preparation for this month's leftovers feature, I went in search of some tips, techniques and tutorials for making the most of your leftover beads and I thought I'd share. 

Create A Bead Mix - There are many, many projects that call for the use of a bead mix, so rummage through your bead-stash and dig out all of those tubes with teeny, tiny amounts of beads left in them. Our very own Liz Reed wrote an amazing article on Making A Bead Mix which will help you to make a start.

Create A Bead Soup - Take the idea of a bead mix just a little bit further by including larger beads such as cube beads, bicones, drop beads, pearls and druks. If you're new to creating, or using, bead soup I'd recommend a visit to Lori Anderson's Bead Soup Blog Party where inspiration will abound!

Use Other Materials - Dedicated bead-weavers can overlook the potential of combining their beautiful beads with other materials such as cord, ribbon, buttons and chain - but this is the perfect way to stretch your beads and create some beautiful texture.

Urban Bauble Necklace


Substitute Beads - Don't discount a pretty pattern just because you don't have the exact beads it calls for - you may have the perfect substitute amongst your leftover beads. Check out Beading Daily's article on Bead Substitutions In Seed Bead Patterns and extend the life of those leftovers.

Join The Earring Along - Regular visitors to our Facebook Group, will know that several of us are creating a pair of earrings each week (though some of us are still catching up!) in an effort to try new stitches and techniques. But, let's face it, we all earrings are also the perfect way to use up those leftovers! Either use your leftovers straight away to make earrings that match your latest bracelet or necklace, or dig around in your stash to come up with some potential pairings.

Pretty In Pink


Tutorials - If you still need a little bit of inspiration, then check out some of these simple, but sweet tutorials. 


And before I head off, just a little reminder to share photographs of your leftovers, new bead mixes and finished creations with us by posting them to our Flickr Pool or our Facebook Group. We'd love to see them!

Thursday, 27 October 2011

Pattern Finds - Perfect Evening Earrings

Our last pattern finds for this month is the tutorial for these very beautiful earrings by Nancy Dale (NEDBeads on Etsy). Nancy is an active member of our Facebook Group and is currently converting people to cubic raw! These stunners are made using peyote stitch though. I really must treat myself to a pair of rivolis!


As always, click on the pic to be taken to the listing.

Happy Beading!

Sarahx

Wednesday, 7 September 2011

Pattern Finds - Leaf of Olwen Tutorial

For our 1st pattern finds of September, we have these beautiful leaf earrings from FDEkszer Tutorials, which are a perfect quick project to use up a few Swarovski Crystals or pearls. Even though they are named after a goddess of Spring, they are just perfect for our Autumn theme!

Click on the picture to go to the listing,


Happy Autumnal Beading!

Sarahx

Tuesday, 12 July 2011

Pattern Finds - Beaded Bracelet Tutorial Chain Lace by Jewelry Tales


Welcome to our second pattern finds! The tutorial for this beautiful bracelet is by Cynthia of Jewelry Tales on Etsy. I have long been a fan of Cynthia's work ever since I first came across it on the old Bead and Button forums. Cynthia has an innovative and intriguing approach to beading and this tutorial is no exception! Suitable for intermediate to advanced beaders, this bracelet uses chain, crystals and seed beads to create a pretty and delicate bracelet with an unusual construction.

So if you are looking to try something different and use up a few seed beads and some curb chain, go take a look!

Happy beading,

Sarahx

Saturday, 28 May 2011

Basic Stitch Tutorial - Herringbone Stitch

Last week we showed you how to make a strip of ladder stitch and this week we'll be using that strip as a starting base for herringbone. Herringbone stitch is one of my top three stitches and very easy to do once you learn the technique. I remember the first time I tried this stitch, I was amazed at how the beads lean toward each other so neatly to look almost like knitted stocking stitch.

First of all you need your ladder stitch base which for the purposes of this tutorial should be an even number of columns. I'm starting with a base of 8 columns, 2 beads high. You can start from a single row of beads but the double row is much easier to hold on to when you begin stitching.

With the thread coming out of a bead at the end of the row, pick up 2 beads and sew down through the adjacent bead...


Then sew back up through the next bead...


Pick up 2 more beads and sew down through the next bead, then back up through the next...


Continue in this way until you reach the end of the row. You'll see that the thread ends in the wrong place for starting a new row so you need to make a little maneouver to get the thread into the correct position.

Sew up through the adjacent bead...


and then sew up through the last bead you added...


Continue as before, adding your pairs of beads to the pairs in the previous row and making the turn at the end of each row...


When you've finished your strip of herringbone you'll want to finish off the end so that the beads are joined together rather than separated into pairs. The thread path is exactly the same as ladder stitch.

Sew down through the second bead...


and up through the third...


Sew back down through the second bead again...


and back up through the third...


Continue in this way, stitching each bead to it's neighbours. Finish off by weaving both your threads into the beadwork and trim.


Or rather than trim them, you may want to use the threads to attach a button and loop to make a bracelet as I've done here. For this one I've used hex beads.


And here I've used a blue and green mix of size 11s and attached the strip of herringbone to an aluminium cuff that I first covered with Ultrasuede. A perfect base for this huge button!


Well I hope you've enjoyed this tutorial. There's so much things you can do with this stitch so I hope you'll continue to explore it and wish you many adventures in herringbone!

Saturday, 21 May 2011

Basic Stitch Tutorial - Ladder Stitch

Today's basic stitch tutorial is ladder stitch, which is a very useful technique to learn. Incredibly easy to do, it often forms the basis for many other stitches, including herringbone and brick stitch.

You can work ladder stitch using one or more beads, but for the purpose of this tutorial I'm making a strip that's two beads high (this is sometimes called a two bead stack). If you need to make a strip one bead high, simply pick up one bead at a time instead of two.

Thread your needle with a comfortable length of thread and pick up a stop bead. Leaving about an 8" tail, sew through the stop bead once or twice more being careful not to split the thread. The stop bead is optional but it will help to keep the beads positioned as you work.

Pick up 4 seed beads, slide them down to the stop bead and sew through the first 2 seed beads in the same direction...


Pull the thread snug, positioning the beads so that the two pairs sit side by side and sew back down through the second pair...


Pick up 2 more seed beads and sew down through the adjacent pair of beads...


Sew back up through the pair you just added...


Continue in this way, picking up 2 beads at a time until the strip is as wide as you need.


Don't forget to check back next week when I'll be using this ladder stitch strip as a base for herringbone :)

Saturday, 7 May 2011

Free Tutorial - Something out of Nothing Lariat

Earlier this week Clair from Obstinate Pursuit posted some lovely cards made from little bits and pieces and it reminded me of how much I enjoy making something out of practically nothing. I rummaged through my bead stash and came up with a length of brass chain, some jump rings and 10 purple dagger beads, not a lot really. I had a play about and came up with this simple lariat.


You will need approximately 1 metre of decorative chain, 10 jump rings to match and 10 dagger beads.


Using 2 pairs of pliers open a jump ring sideways and add a dagger bead.


Attach to the bottom link of one side of the chain.


Repeat up the chain, alternating the sides that you attach the jump rings to.


Repeat for the other end of the chain, tie an overhand knot and you are done!


Don't forget to add a photo to our Flickr pool if you make this project (link up on the right).


Happy beading!


Sarahx